

And so, I've always had a penchant for chocolate cakes and so I wanted to try something new.. I did this Chocolate Layered Cake with Toasted Almonds last Tuesday.. Boy is this one recipe I'd always keep and tweak! I simply love the rich chocolate taste in this cake! This is also the cake used in Chocolate Banana Cake with Chocolate Ganache (: This took me about 3 hours to bake but of course, if you have more time allowance, allow the cake to chill for a longer time in between so that it sets better! (:

Chocolate Layered Cake with Toasted Almonds Recipe
This recipe yields one 9-inch cake
Ingredients:
CHOCOLATE CHIFFON CAKE (A)
30g cocoa powder mixed with 120ml water
4 egg yolks
130g self-raising flour
1/2 tsp baking powder
1/2 tsp baking soda
60ml corn oil
1 tsp vanilla paste/essence
CHOCOLATE CHIFFON CAKE (B)
4 egg whites
60g castor sugar
1/4 tsp cream of tartar
CHOCOLATE GANACHE FILLING
1/4 tsp cream of tartar
225g dark coverture chocolate
85g unsalted butter
3 eggs, separated
250ml whipping cream
3tbsp castor sugar
4 bananas, sliced
CHOCOLATE GANACHE FROSTING
140ml whipping cream
350g dark coverture chocolate
1 tbsp butter
DECORATION
50ml whipping cream
30g toasted almonds (diced)
Some leftover chocolate ganache filling
Some leftover chocolate ganache frosting

Steps:
CHOCOLATE CHIFFON CAKE (A)

Preheat oven to 175 degree Celsius. Separate the eggs for chiffon cake components (A) and (B).

Add the baking powder and baking soda to the flour.
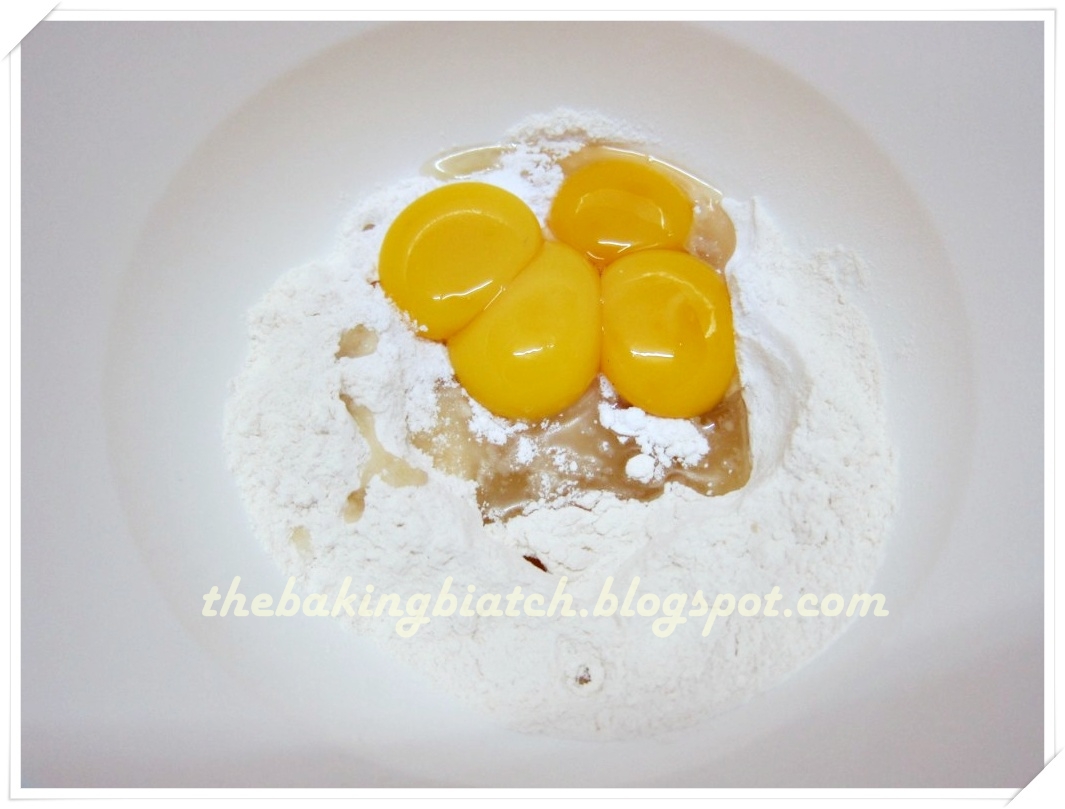
Add the yolks.

Add the vanilla paste and corn oil.

Mix 30g of cocoa with 120ml of water. Mix well.

Add this into the flour mixture.

Whisk and mix well.
CHOCOLATE CHIFFON CAKE (B)

Whisk the egg whites till bubbles appear, usually after 20 seconds.

Add the cream of tartar. Let it be well incorporated.
Add the sugar and allow it to be well incorporated.

Whisk the mixture till' stiff peaks form and when the bowl is tipped over, the mixture is firm.

Line the cake tin with greaseproof paper.
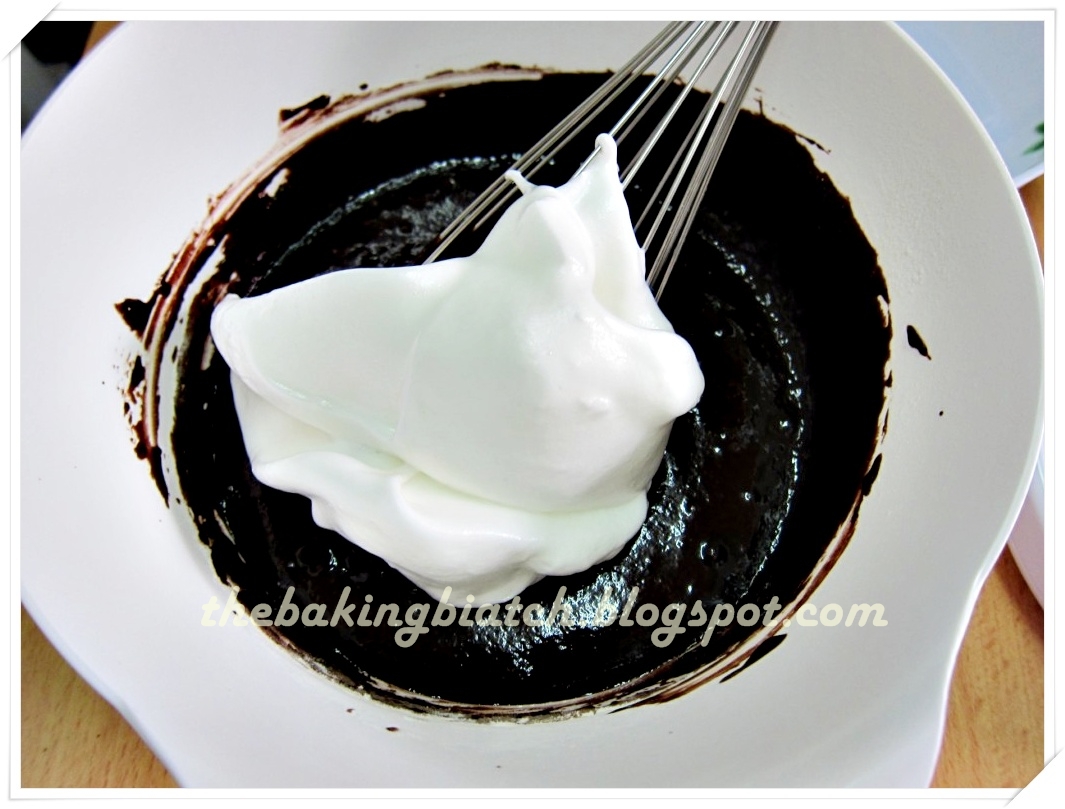
Add 1/3 of (B) into (A) and fold in. You can use either a spatula or whisk. Alternatively, you can use the 'hand folding-in method' I used in the Mango Mousse Cake (:

When mixture is more or less well 'folded in', add another 1/3.

When mixture is well mixed, add the last 1/3 of the egg whites.

Pour the cake mixture into the tin. Drop the tin from a low height of 3 - 5 cm to release the air bubbles in the mixture.

Bake cake for 30 minutes or till' toothpick comes out clean from the middle of the cake. This cake was a lil' wrinkly and shrunken cos I skipped the cream of tartar and used a diff baking powder as my supply expired ): Nevertheless, it was still a good and moist cake! Allow cake to cool completely.
CHOCOLATE GANACHE FILLING

Separate the eggs.

Double boil the chocolate buttons. I used 2 pots from Daiso to do this. The one below is smaller so it 'props' up the upper pot. (:

Melt the chocolate! Stir occasionally. I love this shiny sheen.

When chocolate has melted, remove from heat and add butter and egg yolks.

Mix well and return to double boiler till mixture thickens like this.
Set chocolate mixture aside to cool.

Whip the whipping cream!

This should take about 5 minutes or so. Whip till cream becomes 'fluffy'!

Whisk the egg whites in a separate bowl till bubbles appear. This is usually after 20 seconds of mixing.

Add in the cream of tartar and allow it to be well incorporated.

Add in the sugar and mix well till' stiff peaks form.

Add the chocolate mixture to the whipping cream. Ensure that the chocolate mixture has cooled before adding it to the whip cream. Else, the whipped cream will 'melt'.

Stir well!

Add the egg white mixture in. Mix well!

You should get something like this! (: Set the mixture by placing it in the fridge to cool for 30 minutes to an hour. Alternatively, you can 'cheat' by cooling it in the freezer for 10 minutes.

Chocolate ganache filling is cooled, set and ready to be used!
ASSEMBLY

Trim the top part of the cake away.. this will be the base of the cake. We will use the 'bottom' as the 'top' as it has a more defined shape (:

As I have yet to receive my expandable cake ring when I baked this cake, I improvised. PLEASE get yourself a good expandable cake ring if you wanna bake more layer cakes! It's gonna make your life sooooooo much easier! (: I'm gonna explain the next few steps as though as you are using a cake ring.
Using a cake leveler, slice the cake into 3 parts. You may do so free hand with a serrated knife too.. but it takes a lil' more skill.. (: For this cake, i leveled the height I wanted to cut the cake and I made a small slit using the serrated knife before using the cake leveler to slice through the cake (:

Place the cake ring on top of a 9" cake board. Place the cake ring and cake board on the turntable (another good investment!) and place the base layer in.

Give the chocolate ganache filling a gentle stir before using as some of the ganache on the surface may have become slightly harder (:

Add a dollop of the chocolate ganache filling in the middle of the ring.

Spread with an angled spatula. I'm used my tool that I bought from my instructor. SUPER USEFUL! (:

1st layer well spread! Chill in freezer for 5 minutes. Pop the chocolate ganache filling into the fridge to keep it cool.

Remove from freezer.

Add the second layer.

Add a dollop of the chocolate ganache filling in the middle of the ring.

Spread with a angled spatula. Freeze for 5 minutes before continuing with next layer. This firms up the cake and prevents the chocolate ganache filling from 'melting'.

Remove cake from freezer and add the last layer.

Top with a layer of chocolate ganache filling that's spread over the top.

This is what I had left which I used for decorating the top of the cake. (:

Freeze cake for at least 20 minutes or in the chiller for 1 hour to allow it to firm up.

Using the back of a carving knife, scrap along the insides of the cake ring to 'free' the cake from the cake ring. Remove cake ring. This is the 'bare' cake ready for frosting.

My tools! (:

The bare cake! The sides are somewhat exposed!

This following step is called crumb coating. It's to apply a thin layer of chocolate ganache filling to prevent the crumbs from lifting and destroying the frosting. Since we have already some filling on the cake, we will 'perfect' that. First, use the flat side of the flat spatula to press against the side of the cake and slowly turn the turntable to 'flatten' the cream.

Go in one direction (:

After 'running' the sides, there may still be exposed cake.

Take the spatula and with a small scoop of chocolate ganache filling, gently 'press' it against the sides of the cake where there is cake exposed. Use the turntable to guide the cake.

Applying more crumb coating. Freeze the cake here for 10 minutes before frosting the cake.

To frost the top of the cake, add 2-3 dollops of chocolate ganache filling onto the middle of the cake. Using an angled spatula, slowly spin the turntable to guide the frosting onto the top of the cake.

Add more chocolate ganache filling on the sides of the cake and smooth out sides of cake till it's as straight as possible. (I should totally do a video for frosting cakes here!!)

Freeze the cake for at 20 mins or at least for an hour in the chiller. Meanwhile, prepare the chocolate ganache frosting.
CHOCOLATE GANACHE FROSTING

Loads and loads of chocolate! Be sure to use a good quality chocolate here cos' it'll make the frosting so super awesome! (: I find the PH dark coverture chocolate good enough (:

Double boil the whipping cream to warm it.

Add the butter.

Add the chocolate and mix! This resembles burbor hitam XD

Mix well! (: Allow mixture to cool before frosting the cake, else the chocolate ganache filling will 'melt'.

The chocolate ganache frosting!

Set the cake that has been chilled on top of a clean pan/plate/huge bowl with a wire mesh/wire rack in between. I used the pouring' method for the application of the chocolate ganache frosting.

Pour the chocolate ganache frosting on top of the cake.

Use an angled spatula to guide the chocolate ganache frosting to 'flow' down the sides of the cake.

Let it flow.. let it flow.. let it flow! (:

Pop the cake into the freezer for 10 minutes.

Meanwhile, whisk the whipped cream till stiff peaks form!

The chocolate ganache frosting has somewhat set (:

Using a spatula, touch up spots where the frosting has not been up to standard (:

Collect the leftover chocolate ganache frosting! I used them for macaroons! (: I kept it in an airtight container inside the fridge.

This is the piping tip I used for decorating the cake!

Toasted almonds left from my Mango Mousse Cake!

Remove the cake from freezer and it's ready to be decorated! At any one point of time you find your cake or chocolate ganache filling (leftover from filling the insides of the cake) or whipped cream too soft to work with, pop the cake and cream (any of the 2) into the freezer for a few minutes to allow it to firm up.

First, I piped 2 rings of whipped cream on the cake! Pretty fun especially since it was my first try at piping!

This is the other tip I used to draw the 'lines'.

I placed the toasted almonds in the 'inner' circle and used the top above to pipe some of the leftover chocolate ganache frosting in 'triangles'.

Using the first tip that I had used for the whipped cream, I used this for more piping. I piped some chocolate ganache filling on the 'outside' of the inner ring and on the 'inside' of the outer ring of whipped cream. I also piped a row of chocolate ganache filling at the bottom of the cake.

Let the cake chill for at least 2 - 3 hours before serving (:

We had this for dessert after dinner! (:

A slice of it! (: I love using my bread knife to cut the cake as the chocolate ganache frosting will be firm..

A slice of the pretty cake!

The insides (:

Despite being a rich chocolate layer cake, my family loved it and even my dad gave it 2 thumbs up! ((: This is one recipe that I so very love and shall 'recycle' it to explore more chocolate layer cake options! Till then, have fun baking this! ((:

I'd love to see the bakes or stuff you've cooked using the blog's recipe! Do share photos of stuff you've baked or cooked using the blog's recipe with me either via FB message to http://facebook.com/limcynthia OR http://facebook.com/thebakingbiatch OR via email at cynthia.lim.hl@gmail.com! I look forward to hearing from you! (:
Cynthia, looks amazing! I love how smooth the ganaache is...
ReplyDeleteThanks Mich! (((:
Delete