

I was inspired by Mimi Bakery House's tri-coloured kek lapis and I decided to bake some too.. I adapted her recipe and made some tweaks to my liking. Somehow, I prefer her lapis XD probably cos mine has small holes/gaps between the layers despite the compacting.. Her layers were also thicker. I decided to use a larger tin and also increased the recipe.. but I should have used a slightly smaller tin. I would do so the next time I bake this (which should be soon!)
I'm weird in a way. Baking is therapeutic for me. Many dislike baking cos of the washing, the concentration level needed etc.. I like baking to unwind. This is especially so for kueh lapis legits.. I actually like the repeated baking.. It's probably a good breakaway from the rush I face every day.
I barely have enough time to sleep.. let alone bake. Though baking takes stress away... I can barely find energy to do so of late. In fact, I did think of retiring this blog. To stop blogging altogether. BUT... this blog is too dear to me.. at least for now.
Anyway, this recipe yields a 9 - 9.5inch square cake and takes about 2 - 3 hours in all to complete. I'd rate it a difficulty level 4 out of 5.


This recipe yields a 9 - 9.5inch cake after trimming
(Use a 10" cake tin for this cake)
485g unsalted butter
195g castor sugar
4 tbsp condensed milk
19 egg yolks
2 1/2 tsp vanilla bean paste
1 1/2 tsp rum
128g top flour
1 tsp baking powder
1 tsp lapis cake spice
8 egg whites
60g castor sugar
2 tsp pandan paste
1.5 tsp chocolate paste or emulco
*all ingredients are to be of room temperature
*eggs are to be of 55 - 60g variety
Method

In a mixing bowl, put together butter, condensed milk and sugar.

Sift dry ingredients (flour, baking powder and lapis spices).

Sifted...

Mix butter mixture till pale and creamy. I did so for about 6 minutes on low speed.

Separate yolks from white. The fresher your eggs, the easier it is to separate them.

Love my new bowl!

Egg yolks all gathered! For the excess whites, you can bake macarons with them.. or other bakes that uses egg whites. I love using them for scrambled eggs mixed with some whole eggs.

Add yolks gradually into butter mixture.

I added bout 2 yolks at a time. Allow batter to be homogeneous before adding more yolks.

Nice and smooth!

Add dry ingredients in 2 additions and mix on low speed till well combined. You may also do this with a spatula, folding in the flour. Avoid over-mixing the batter at this stage. Once mixed, set aside.

In another bowl or the same mixer bowl that has been dried and cleaned, place sugar and egg whites.

Mix on medium-high speed till stiff peaks are achieved.

Mix 1/3 of the meringue into the batter. Fold it in well.

Well folded!

Add the yolk batter to the whites.

Fold well.

Weigh the batter and split into 3 even portions. I had 1.5kg of batter so each portion was about 500g.

Add paste into the batter.

Mix well.
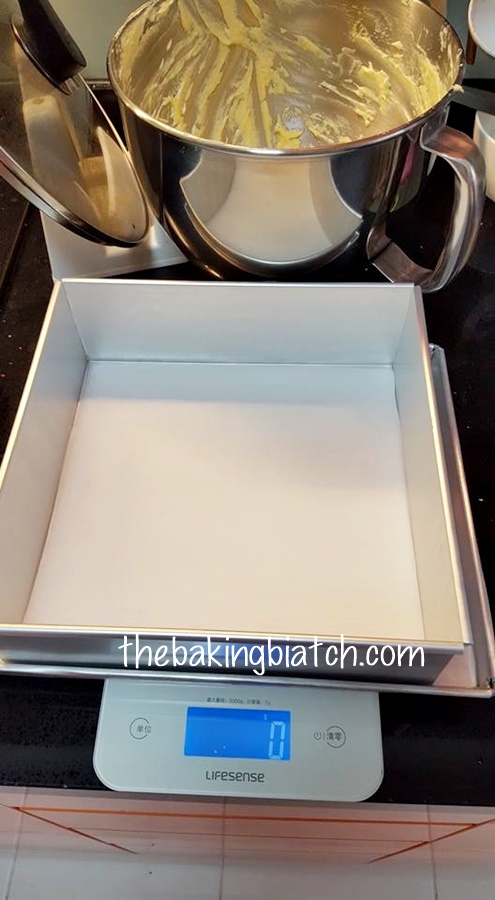
Line your baking tin with baking paper. Preheat oven to 230 degrees Celscius, grill mode. (ONLY TOP HEAT)

Weigh each layer. I had 95 - 100g per layer.

Even out each layer as best as you can. Bake for 2 - 3 minutes or till layers are nice and brown. The timing greatly depends on your oven. Observe for the first few layers and see what suits you best.
Gently compact each layer before adding more batter. I did so with the base of another flat square baking tin.

Adding layers..

Next flavour!

This layer was so beautifully smooth and brown!

Chocolate layer!


Smooth and brown layer!

I loved it so much!
I had a total of 15 layers of cake...

Once your cake is completed, invert to cool. I deliberately pressed the tin down to get deeper cooling rack marks.

Allow cake to cool completely.

I love the lines!

Slice up and enjoy! I keep the lapis in an air-tight container in the refrigerator for longer freshness.

The 3 colours were pretty though I do wish I made them fatter. Maybe I'll try with an 8" tin again..

Nonetheless, it was well received! Enjoy your lapis! (:
No comments:
Post a Comment