

I've always loved eclairs and still love eclairs.
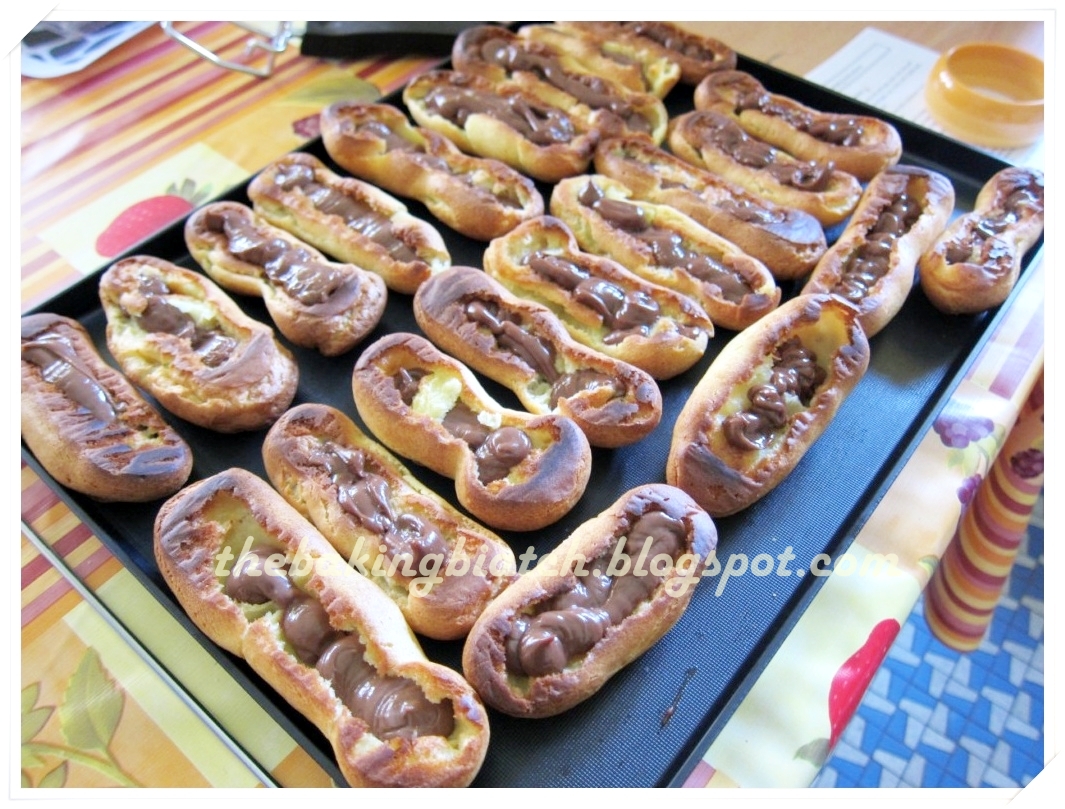
These Inverted Chocolate Eclairs were my first attempt.
Firstly, these eclairs may not look too pretty as they're inverted. I haven't exactly mastered the 'personality' of my oven so the bottoms got burned. I salvaged them by inverting them and piping the chocolate custard in like a 'boat' and then scooping the chocolate glaze on it. Nevertheless, the taste was AWESOME, just the way I like it. Oh yes, the insides are filled with chocolate custard.. cos I like them more as compared to custards.. but I'll share how you can do the custards one too! (: With this, I am DETERMINED to get my Silpat.. and I'll do so this coming Monday! (:
This recipe is adapted from Pastrypal and I modified it to my liking (:
Anyway, this recipe yield 20 odd eclairs for me and it took about 2 hours to bake them (: I prepped my chocolate custard the night before but if you'd like, you can prepare it first and chill it for an hour before use.

Inverted Chocolate Eclairs Recipe
Ingredients:
CHOCOLATE CUSTARD
240ml milk
2 egg yolks
40g sugar
1 tsp vanilla bean paste (or vanilla extract)
20g corn starch
15 g butter
15g dark chocolate buttons
For plain custard, omit the chocolate buttons (:
PATE A CHOUX (PASTRY DOUGH)
112g butter
120ml milk
120ml water
50g sugar
150g all-purpose flour
5 eggs
1 tsp salt
CHOCOLATE GLAZE
112 g dark chocolate buttons
80g heavy cream
35g sugar
1 tbsp vegetable oil

WARNING: This blog post is IMAGE-INTENSIVE! (:
Steps:
CHOCOLATE CUSTARD
Can be made a day in advance (:

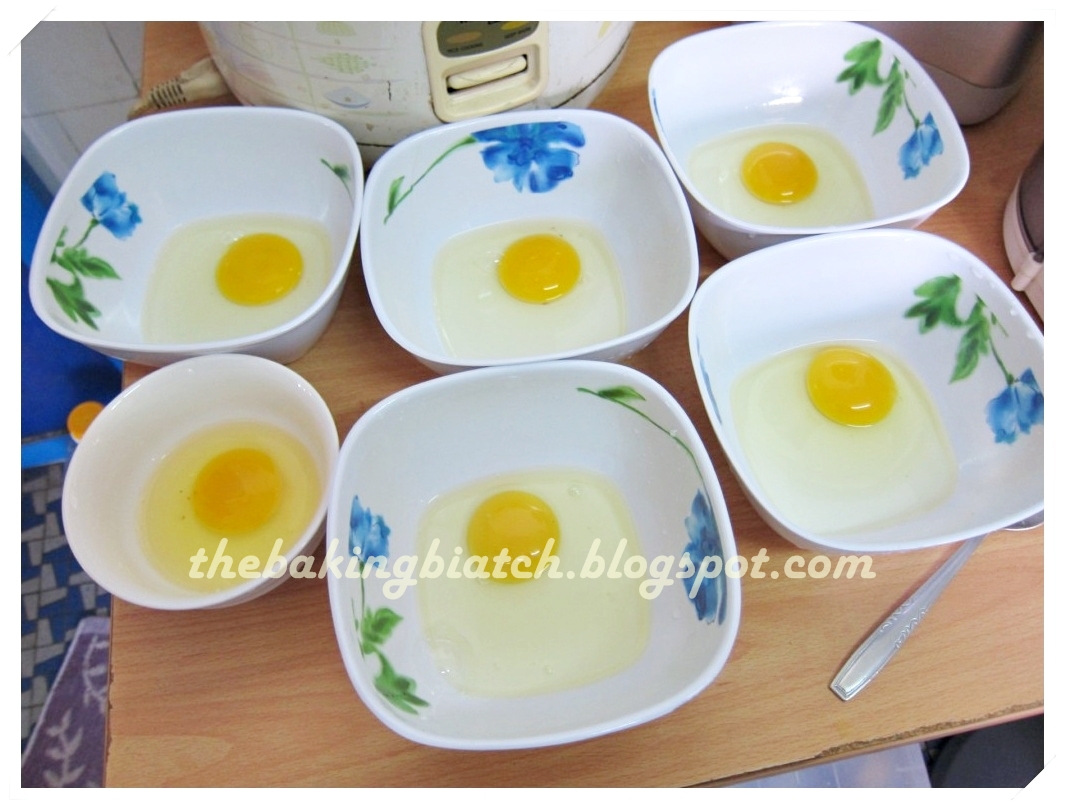
The milk.

Separate the yolks from white. I like to do this manually (:

The sugar.

The corn flour.

The butter.

Boil the milk! I love how my Happy Call Pan is so good for making custards cos' it's non-stick!

Mix the egg and sugar together.

Mix well.

Add the vanilla bean paste.

I didn't have enough vanilla bean paste so I added a lil' vanilla extract.

See the tiny specks? It's the vanilla bean paste magic!

Dump the corn starch in.

Mix well.

You should get something like a ribbony texture.

Let the milk boil!

Add the milk into the mixture and mix well!

Pour the mixture back into the pan and cook it on low heat, constantly stirring it.
It'll take about 3 - 5 minutes for the mixture to thicken. (:

Once the mixture has thickened, bring it back to the mixing bowl.

Add the butter and mix!

Add the chocolate buttons and mix!

Mix well! Oh-la-la! (:

Use a cling wrap to cover the chocolate custard as close to the surface as possible to prevent a layer of skin from forming. Chill the mixture either overnight or for at least an hour.
PATE A CHOUX (PASTRY DOUGH)

The flour, before it's sifted.

The sugar.

The milk.

The butter.

The ingredients!

Sift the flour!

Add the salt and sugar to the sifted flour and stir with a fork.

Mix well!

Bring the milk, water and butter to boil.
I LOVE my Kitchen Art Pot!

Melt baby melt!

Check out my KA Pot! (:

Let it bubble and boil.

It should resemble something like this.

Dump the flour mixture in and mix quickly!
Press all the flour pockets!

Mix!

Mix! All in less than a minute!

Scoop the dough into a mixing bowl! (:
Prep 5 eggs. I have one more prepared, just in case (:
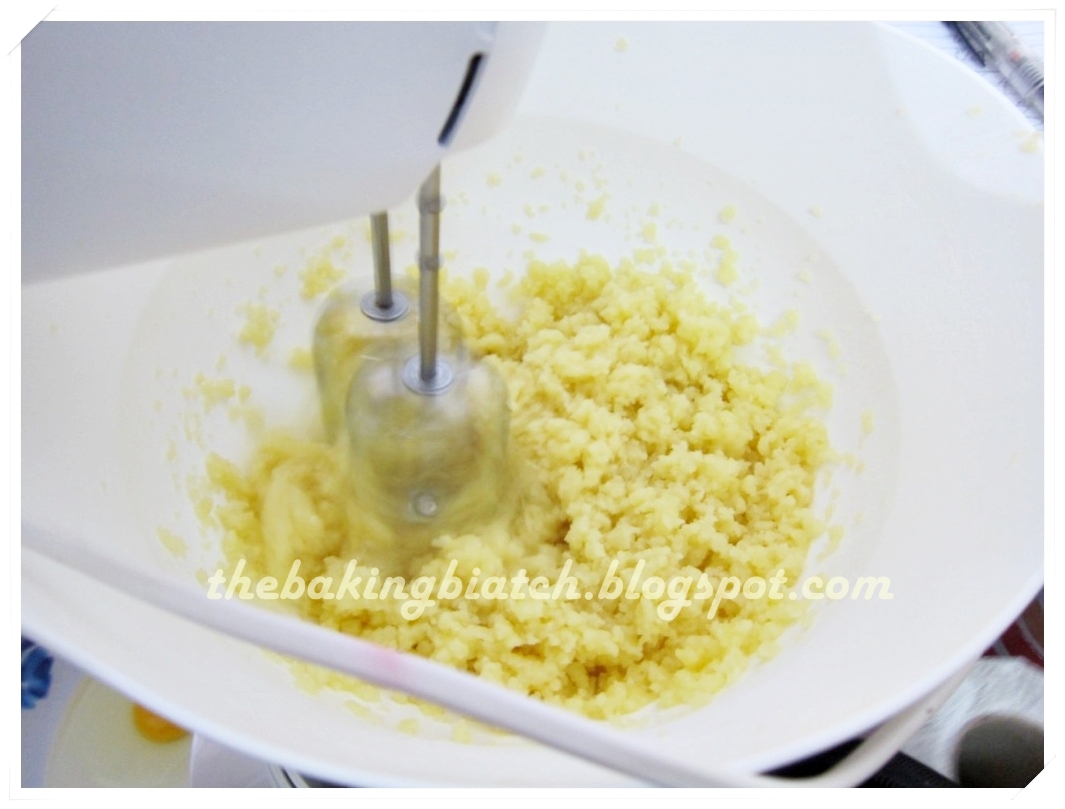
Using the mixer, mix the dough for 30 seconds.

Add in an egg and mix till it's well incorporated.
Do not dump all the eggs in at once!

Add the egg..

When you've done so with 5 eggs, you should get a sticky paste like this.
If it's still dry, add another egg.

My pastry dough.

My piping tip #9.

#9. Preheat oven to 200 degrees Celsius.

I used disposable piping bags I got from JB.
100pcs for RM16's just dirt cheap! (:

I did not buy my Silpat prior to this project so my pastry got stuck to the grease proof paper. Do grease the grease proof paper with some oil/butter. Better still, use a Silpat! Pipe 3 inch long strips. Leave sufficient space between each strip for the pastry to grow twice in size. These babies have minds of their own!

Bake the pastry in the oven for 20 minutes or till they turn golden brown and are inflated. If the pastry browns too quickly and it's not puffed up, reduce the temperature of the oven by 10 degree Celsius.

I regret not buying my Silpat! ): And absentmindedly, I forgot to grease the bottom. So, my eclairs were 'bottomless'.

Still pretty, no doubt!

As such, I inverted the eclairs and tried to make the best of what I had.
Using a piping bag, pipe the chocolate filling into the eclairs.
If your eclairs are with the 'bottoms' like it should be, use a piping bag filled with the chocolate custard and equipped with #7 tip, 'poke' into the side of the eclair. Fill the eclair till you feel resistance. If you feel that the eclair has not been filled, poke the other end and fill it.
CHOCOLATE GLAZE

The heavy cream.

Chocolate buttons! I just love dark chocolate!

Add the sugar and oil to the heavy cream in a microwavable bowl.

Heat up the stirred mixture on 30 second intervals till it's boiling hot.
If you do not have a microwave, you can boil this mixture on low fire.

Add the mixture into the bowl of chocolate buttons.

Mix well!

Mix more. This resembles bubor hitam to me! (:

Almost there!

The beautiful glaze!
I spooned my glaze on the eclairs as I could not dip them.
Should your eclairs be proper with the 'base' like it should be, dip the top 1/3 of the eclair into the glaze and allow the rest of the glaze to drip in. This is how it should look like:

Image taken from http://www.pastrypal.com/2012/03/pate-a-choux-bless-you-for-eclairs/
Chill the eclairs for at least 15 minutes before enjoying them.

I LOVE these eclairs so much and I can't wait to make another batch of it when I get my Silpat! (:

I'd love to see the bakes or stuff you've cooked using the blog's recipe! Do share photos of stuff you've baked or cooked using the blog's recipe with me either via FB message to http://facebook.com/limcynthia OR http://facebook.com/thebakingbiatch OR via email at cynthia.lim.hl@gmail.com! I look forward to hearing from you! (:
Hi! It's really good to know a baker from Singapore because it makes baking so much more relatable due to the same climate, locations to buy ingredients etc ^^ Just read about Silpat and think it is really awesome. Do you have any idea where to get Silpat in Singapore? Thank you so much!
ReplyDeleteHello!
DeleteYes it sure is joy knowing someone from the same country! Definitely makes recipes a whole lot easier to relate! If you're interested, maybe you'd be keen to join this FB group for food that I'm in? Here you'll get to know more fellow Singapore bakers and home cooks! http://www.facebook.com/groups/CulinaryKitchenette/
Anyway, Silpat can be purchased from Sun Lik in Seah Street (:
Regards,
Cynthia